Timing and technique for pressure washing as exterior paint prep — PSI by substrate, drying time, and mildew treatment.
Skipping the surface preparation phase is the fastest way to guarantee an exterior paint job will fail within two years. Our team constantly sees homes across Northern New Jersey where new paint is already peeling because the previous crew applied it directly over dirt and mildew.
In 2026, the average cost to professionally repaint a house ranges from $3,000 to $7,000 in the US. Protecting that investment starts with a thorough cleaning. We always pressure wash before painting to ensure the new coating bonds directly to a solid surface.
“Thorough exterior prep is the dividing line between a standard paint job and a truly great one.”
Let’s look at the correct pressure levels, the necessary drying times, and a few practical ways to respond when a simple wash isn’t enough.
Why Pressure Washing Matters
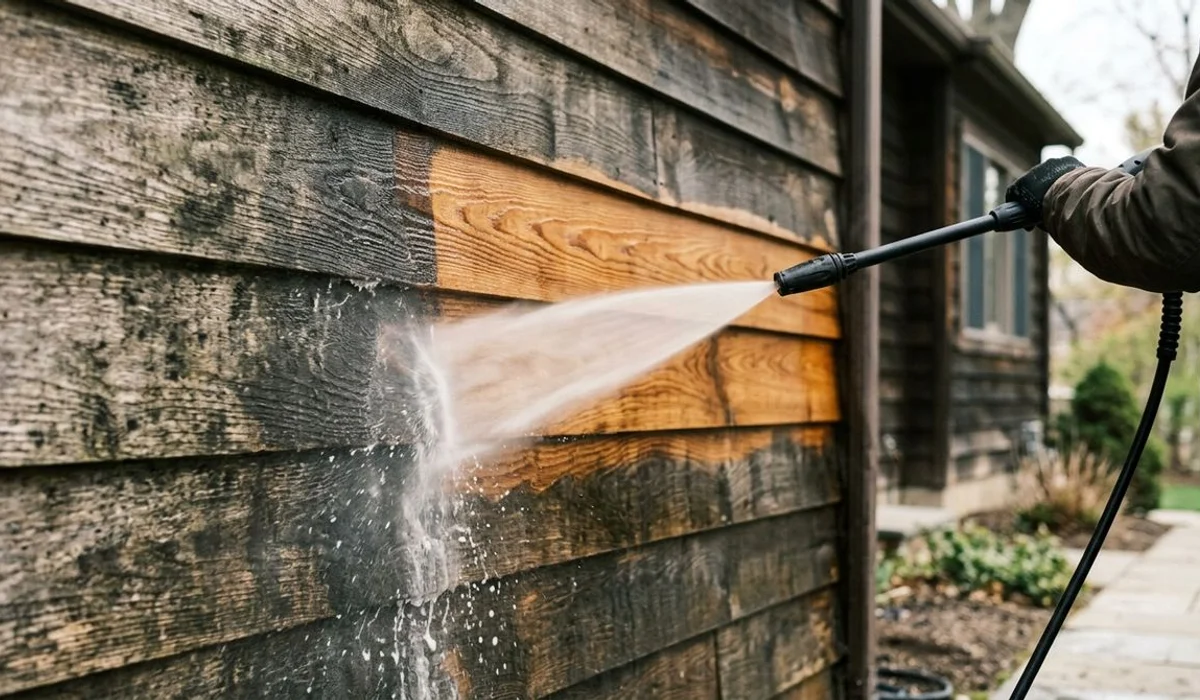
A thorough power wash is essential because it removes the microscopic barriers, like pollen and chalking, that prevent new paint from adhering to your siding. Exterior paint will inevitably fail when it is applied over surface dirt or active mildew. Our standard process eliminates these contaminants to create a perfectly clean canvas.
Recent 2026 industry data shows that skipping this crucial prep step can add $500 to $2,000 in future repair costs due to premature peeling. The breakdown of old paint binder creates a powdery residue known as chalking. We use a targeted wash to rinse away this chalky film and reveal any loose paint that requires scraping.
A proper pressure wash before painting delivers several specific benefits:
- Removes stubborn surface dirt, sticky pollen, and cobwebs.
- Washes away chalking residue left by deteriorating paint binders.
- Exposes failing areas so you can easily scrape away loose flakes.
- Kills active mold spores when combined with a targeted chemical solution.
Paint simply sits on top of the old failure without this preparation. This is exactly why those rushed exterior painting stories end in a peeling disaster just 18 months later. Our experience shows that proper preparation is the only way to ensure long-lasting results in a humid climate.
Correct PSI by Substrate
Matching the pressure washer psi to the specific building material prevents permanent damage while ensuring a thorough clean. Using excessive force on soft materials will gouge the surface and force moisture deep into the walls. Our crews calibrate the equipment pressure for every single job based on the exact siding type.
| Siding Substrate | Recommended Pressure | Specific Nozzle & Technique Notes |
|---|---|---|
| Wood Clapboard / Cedar | 500-1,200 PSI | Requires low pressure to avoid splintering the soft grain. |
| Fiber Cement (HardiePlank) | 1,000-1,500 PSI | Highly durable surface but keep the nozzle moving constantly. |
| Vinyl Siding | 500-1,000 PSI | Direct the spray downward to avoid driving water into overlaps. |
| Aluminum | 1,000-1,500 PSI | Metal can dent easily if struck by a concentrated high-pressure stream. |
| Stucco | 1,000 PSI max | Maintain a 15 to 30-degree angle to protect the textured finish. |
| Brick | 1,500-2,000 PSI | Check the mortar joints for visible deterioration before starting. |
Selecting the right setting is only half the battle. Using a concentrated nozzle on delicate cedar can leave visible zebra stripes in the wood grain. Our technicians always test a small, hidden area first to confirm the substrate can handle the pressure.
Technique
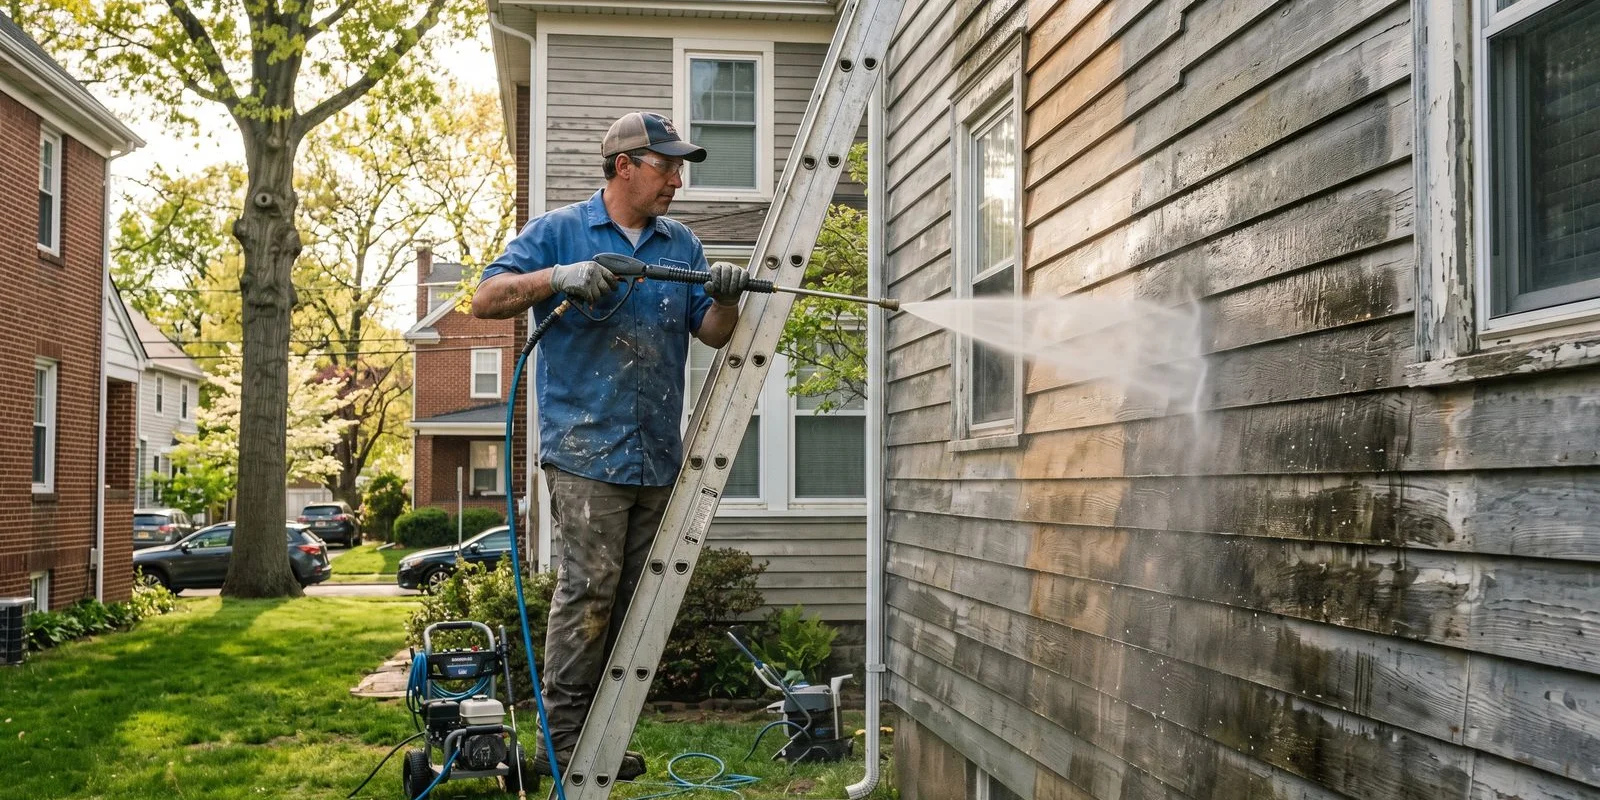
Proper washing technique requires maintaining a consistent distance and using a wide spray pattern to protect the siding. A white 40-degree tip is the safest choice for residential exteriors because it disperses the water broadly. Our painters always start washing from the top of the house and work their way down to avoid streaking.
Narrow tips, like the red zero-degree nozzle, will easily gouge wood and destroy mortar. You must maintain a steady distance of 12 to 18 inches from the surface. We adjust this distance dynamically based on how the dirt responds to the spray.
Crucial technique rules include:
- Directional Spraying: Never drive water up into siding overlaps.
- Window Protection: Skip the high pressure around glass to avoid breaking seals.
- Seal Safety: Water intrusion around window frames causes major interior drywall problems.
- Electrical Precautions: Cover all GFCI outlets, light fixtures, and outdoor breaker boxes before introducing any water.
Forcing water behind vinyl or wood panels can trap moisture inside the wall cavity. This trapped water leads to hidden rot and peeling paint months down the road. Our team takes the time to tape off sensitive areas before firing up the machine.
Mildew Treatment
A standard rinse with plain water will not kill mold and mildew spores on your siding. High pressure simply moves the living organisms around without addressing the root cause. Our standard mildew protocol involves applying a dedicated cleaning solution to completely neutralize the spores.
Mildewed siding requires a sodium hypochlorite solution mixed at a 1 to 10 dilution ratio. Commercial mildewcides like Sherwin-Williams Jomax or Zinsser Jomax Mildew Cleaner are also highly effective alternatives. We let these chemical treatments dwell on the surface for 10 to 15 minutes before rinsing.
To successfully eradicate mildew in humid coastal areas, follow these exact steps:
- Apply the chemical mixture evenly across the affected area.
- Let the solution sit for 10 to 15 minutes to penetrate the fungi.
- Scrub heavily soiled patches manually with a stiff bristle brush.
- Rinse the entire section thoroughly from top to bottom with clean water.
Failing to kill these spores means they will simply grow back right through your fresh coat of paint. Humidity levels near the coast accelerate this fungal growth significantly. We never apply a new primer until the surface is completely free of organic growth.
Drying Time Before Painting
The exterior must be completely dry before any paint is applied, which typically takes between 24 and 72 hours. Painting over damp wood traps moisture under the film, causing catastrophic blistering and peeling as the water tries to escape. Our team utilizes professional digital moisture meters to verify the substrate is ready.
High-quality tools like the General Tools MMD4E or the Wagner Meters Orion 940 provide exact moisture percentage readings. The wood must test consistently under 15 percent moisture content before you open a can of primer. We always extend the drying schedule if the weather has been particularly humid or rainy.
Strict drying timeline expectations include:
- Summer Conditions: Warm and dry days require a minimum of 24 to 48 hours.
- Spring and Fall: Cool or humid weather pushes the necessary wait time to 48 to 72 hours.
- Post-Rain Protocol: Add an additional 48 hours of drying time after any heavy rainstorm.
- Instrument Testing: Verify the moisture content is safe rather than just touching the surface.
Rushing this phase is a very common mistake for impatient homeowners. Trapped moisture is the leading cause of exterior coating failures in the United States. Our protocol strictly enforces these wait times to protect the integrity of the final finish.
When Pressure Washing Isn’t Enough
Sometimes a deep clean simply cannot fix severe underlying damage or specific hazardous materials. Heavy peeling, significant cracking, and historic coatings require specialized manual preparation methods. We encounter many situations where washing is only the very first step in a much longer restoration process.
Dealing with Heavy Peeling and Chalking
A power washer will not remove all failing paint safely without gouging the wood underneath. Extensive peeling demands manual scraping and sanding to create a flush, feathered edge. Our preparation phase always includes applying a high-quality chalk-binding primer, like Zinsser Peel Stop, over stubborn chalky residue.
Primer locks down the powdery surface so the topcoat has a solid foundation. Stucco walls with substantial cracking also require specialized elastomeric patching compounds before painting.
Handling Lead-Based Paint Safely
We take environmental safety extremely seriously when working on older properties. Homes built before 1978 have a high probability of containing dangerous lead paint. The EPA Lead Renovation, Repair and Painting Rule requires strict wet-method containment to prevent toxic lead dust from entering the soil.
EPA compliant preparation requires a few strict protocols:
- Testing suspect exterior surfaces before any aggressive scraping begins.
- Using controlled wet-sanding methods to minimize airborne dust particles.
- Laying heavy plastic drop cloths to capture all dislodged debris.
- Utilizing industrial HEPA vacuums for a completely safe cleanup.
Using standard high-pressure equipment on lead paint is illegal and highly hazardous. Certified contractors must use controlled scraping techniques instead. We always recommend a full professional assessment if your home falls into this older category.
For a complete overview of our preparation standards, review our exterior painting service page. You can also find specific structural solutions in our guide to caulking and wood rot repair.
Conclusion
Taking the time to properly clean your exterior is the best insurance policy for your investment. Clean, dry, and stable siding will hold onto a fresh coat of paint for years without peeling.
Proper washing ensures your new paint bonds to the house, not the dirt.
Our crews dedicate just as much energy to this preparation phase as they do to the actual painting.
Protect your home from premature wear and start your next project the right way. Always pressure wash before painting to achieve a flawless, lasting finish.